Tutorial on Creating Altered Digital Images
Deb C asked for a tutorial
on how to create altered digital images.
It’s easy, really.
Here’s a step by step guide.
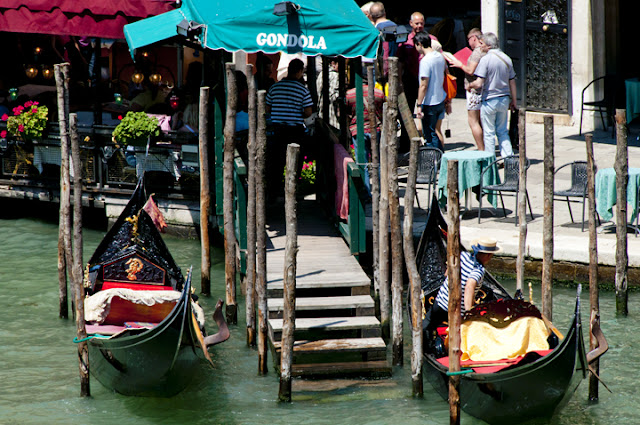
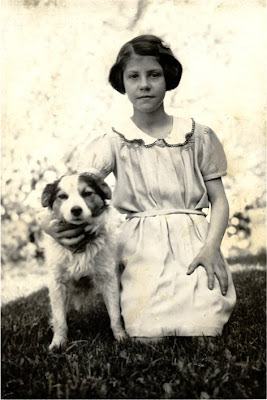
1. Pick a photo and begin. I'll show you two originals --
one with lots of details, one that's pretty simple
and graphic so you can compare the filter effects.
2. Open
it in a program that has artistic filters.
The most popular ones are probably
Adobe Photoshop
(I have CS 5), Photoshop Elements,
and Corel Painter (for a
more painterly look).
My own favorite was Microsoft’s Digital Image Pro
but it’s
no longer made. It’s still loaded on my desktop,
though I have to hit “SAVE”
often.
as the program is pretty unstable.
Since it’s 10 years old or more,
it
was designed for older operating systems.
3. Once you open the photo, go into the filters options
and give various ones a try
until you find the look you want.
Let me show you some options. And in the interest of
full disclosure, I'll admit that Digital Image Pro's filter catalog
is still my favorite.
full disclosure, I'll admit that Digital Image Pro's filter catalog
is still my favorite.
 |
| Accented Edges Filter |
 |
| Glow Edges filter |
 |
| Ink Outlines filter |
 |
| Paint Daubs filter |
 |
| Poster Edges filter |
4. When
you’re satisfied, save the altered image,
using the name of the filter(s) in
the title
so you can remember how you got the look.
I didn’t always do that in
the early days
of my experimentation and I kick myself now
when I see an old image and wonder how I got the effect.
 |
| Eggshell Crackle filter |
 |
| Paint Dry Brush filter |
 |
| Filter 1: Paint Dry Brush Filter 2: Accented Edges |
 |
| Poster Edges Filter |
5. With a wide-format printer that has colorfast inks,
you may be able to print your
images
on sheets of watercolor paper if you baby them through.
If you’re using
watercolor paper, bump up the saturation
a bit on your image, because the paper
is absorbent
and the inks really sink into the paper, dulling the colors.
6. Though
the HP Deskjet 130 inks are rated
at lasting 75 years or more, I frame
them
with museum quality glass and make sure
to hang them away from direct
light.
Easy. Addictive. Use instructions at your own risk.


Comments
Oh, goody!
Thank you, I love tutorials.
I need more "play" time!