Posts

Showing posts with the label photo manipulation

Manipulation - Part II
Image
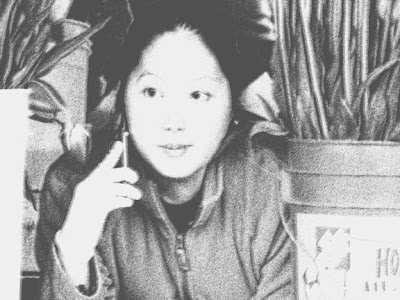
Besides the trick I showed you in Manipulation - Part I What else can you do to photographic images to give them new identities? You remember the original, I'm sure. Now in an altered universe, new options. Manipulated with Photoshop CS2 Filters> Sketch>Graphic Pen Desaturate Increase gamma Photoshop CS2 Filters>Artistic> Poster Edges Fine tune with Image>Adjustments>Exposure Just for comparison here's the MS Digital Image Pro poster edges filter - a very different result! I made a few changes to the sliders using enhancements to the Poster Edges filter. If you like the chalk/pastel look, this is done with MS Digital Image Pro Filters> Chalk Opaque. It's a little softer, but very close to the original in color and feel. If you want a more "painterly" look, we can switch to Corel Painter Essentials 4 and play with that. You can "autopaint" to get a watercolor look or, if you prefer, an oil painting look (a little crude by my standards...
Manipulation - Part I

Image
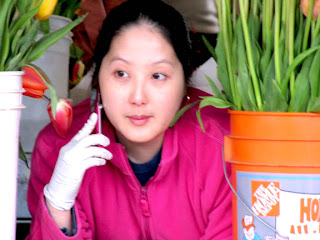
Bee wanted to know about the image in yesterday's post and I know many of you artsy-types love process posts. So here's the process. 1. I started with a photo I took at the Pike Place Market on Mother's Day. It's kind of soft-focus and isn't a perfect shot, by any means. But the young woman was lovely, cell phone to her ear, looking wistful and transported to another world. In a perfect world, there would have been a few more tulips visible and the one hanging over her shoulder could have been a hue that didn't blend in to her sweatshirt, but shooting on the fly you take what you get without being able to fuss over the details. So, having decided that I wanted to play with the image, I jumped in. WARNING: Manipulating photos can suck all your spare time into a black hole. 2. In Photoshop, I went to Filters>Stylize>Find Edges. You'll get a really washed-out looking result, with edges showing but the rest of the image pretty light in color. I was looking...